 |
| My Chanel Accent Nails with Zoya Nail Polish Pixie Collection |
I love the fourth finger accent nail. It's a subtle way to have a design and it's both delicate and edgy without being too in your face. It's also something you can do fast at home, but impress in a big way - and why not go with a designer logo that you adore or, if not that you can pick a simple nail decal of your choosing. I went with the classic Chanel camellia flower, which actually came in a Hello Kitty nail design set purchased at a Sanrio store in Honolulu for about $7, but here's one available online. It may not be authentic Chanel, but with a design so tiny, I hardly think it matters!
Zoya Nail Polish, one of my absolute favorite companies for nail color, b/c it's toluene, formaldehyde and dibutyl phthalate free (so I feel safer applying it on my almost five year old daughter and friends -- not to mention that they've always got the edge on hues and texture) just came out with their Pixie Dust collection. The sparkle on this polish is sensational and superbly saturated. It's great for lifting your spirits for spring.
So do a Chanel Accent nail, or a logo accent nail -- just pick two contrasting colors from the Pixie set, and some decals. EASY! ;-)
THE HOW-TO:
At HOME MANI BASICS:
Have your logo decal ready on hand for the fourth finger. You can even do the index finger if you want. Have an extra decal handy just in case you lose or mess up the nail. Also have tweezers on hand to apply the tiny decals as they are miniature.
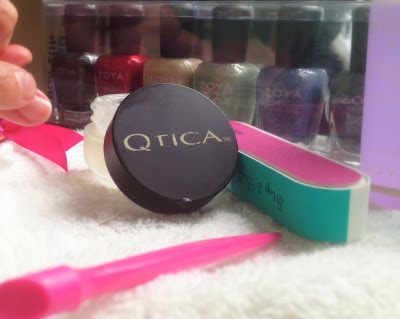
1) Start as you would a normal home mani. The basics being that you would soak your hands in warm water, wash them, and moisturize with your favorite lotion. Then hydrate your cuticles with the best balm ever -- Qtica's Intense Cuticle Repair Balm ($18)
 |
| The best editorial manicurists use this on set when I'm doing makeup for actors and models on shoots. Trust me, it's amazing. |
2) Push or cut your cuticles. Cut, trim, file and smooth your nails -- whatever you need and desire to do.
3) Apply a base coat.
The Accent Nail with Logo
4) Apply two coats of one color to finger 1, 2 ,3, and 5. In my case I used a periwinkle, Zoya's NYX.
 |
| My Chanel camellia decals ready to go with my Rubis Tweezers |
6) Apply a coat of base coat to finger 4. Quickly grab your logo decal with your tweezers (my favorites are Rubis Slant), applying on an area of your choice (I picked the upper middle section) and press down evenly on your nail all over the decal so that it adheres well. Here's my quickie video on how to do it:
7) Apply a top coat quickly and press down again with the tweezer to seal the layers.
8) Apply a top coat to all nails. Allow ample time to dry -- 20-30 minutes.
Have a blast! And let me know how it goes - I'm sure you'll have plenty of ideas yourselves! xo
-- N.C.


No comments:
Post a Comment